
Introduction
Have you stuck with your raspberry pi project because you don’t have an HDMI monitor and a spare keyboard to work with, well don’t worry.

You can enable the SSH in raspberry in the first boot itself from your laptop without any monitor and keyboard.
Hardware Used
| Components | AliExpress | Amazon.com | Amazon.in | Utsource |
| Raspberry Pi 4 B+ or |  | | | |
| Raspberry Pi 3 B+ or | | | | |
| Raspberry Pi zero w | | | | |
| Micro SD 16 GB Class 10 | | | | |
| Raspberry Pi zero/2/3 Power Adaptor | | | | |
| Ethernet Cable 2 meter | | | |
Software Needed
| Raspbian OS | |
| Belena Etcher |
Click the Icons to download the files
Step 0: Install Etcher
Etcher is an SD card flasher app that is simple for end users, extensible for developers, and works on any platform.
- Go to https://www.balena.io/etcher/ and download the software for your OS.
- Open the downloaded file and install the software.
Step 1: Flashing OS to SD card
- Insert the SD card to your computer.
- Open Etcher
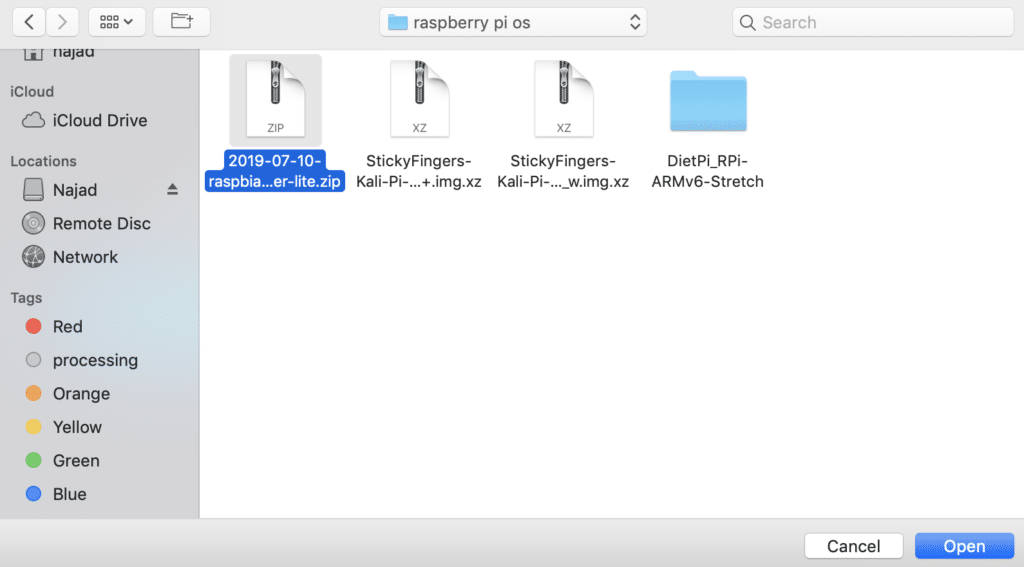
- Click on Select image button and choose the downloaded
raspbian OS image.
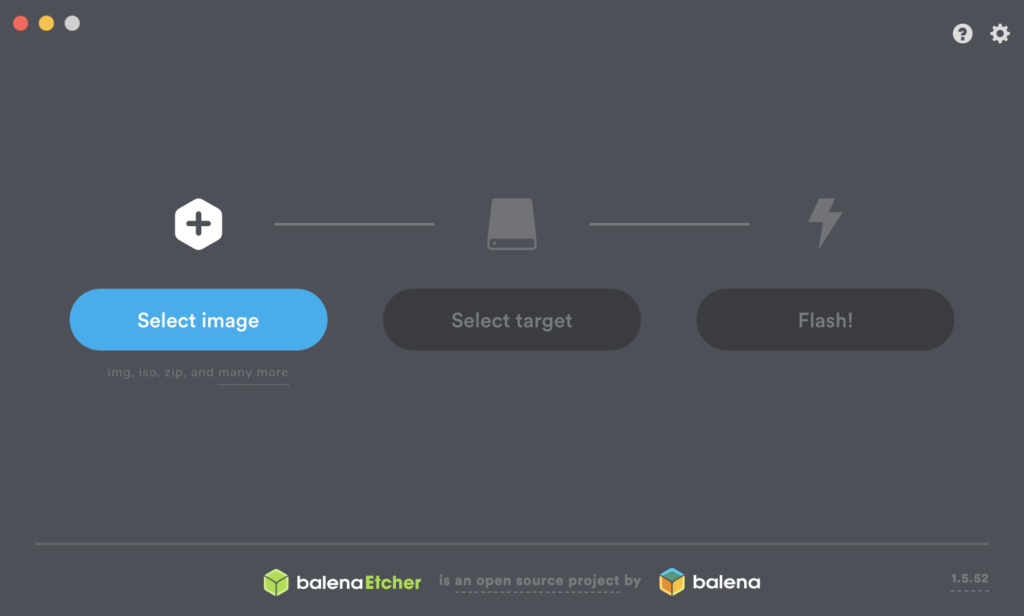
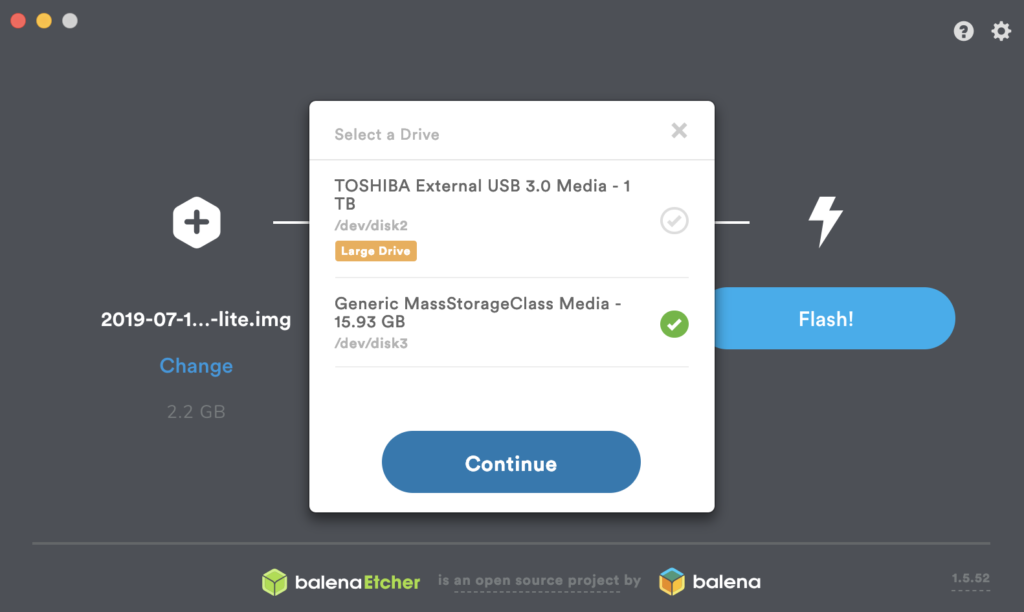
- Then click on Select target button
- Then choose the inserted SD card and click C
ontinue
- Finally click Flash button
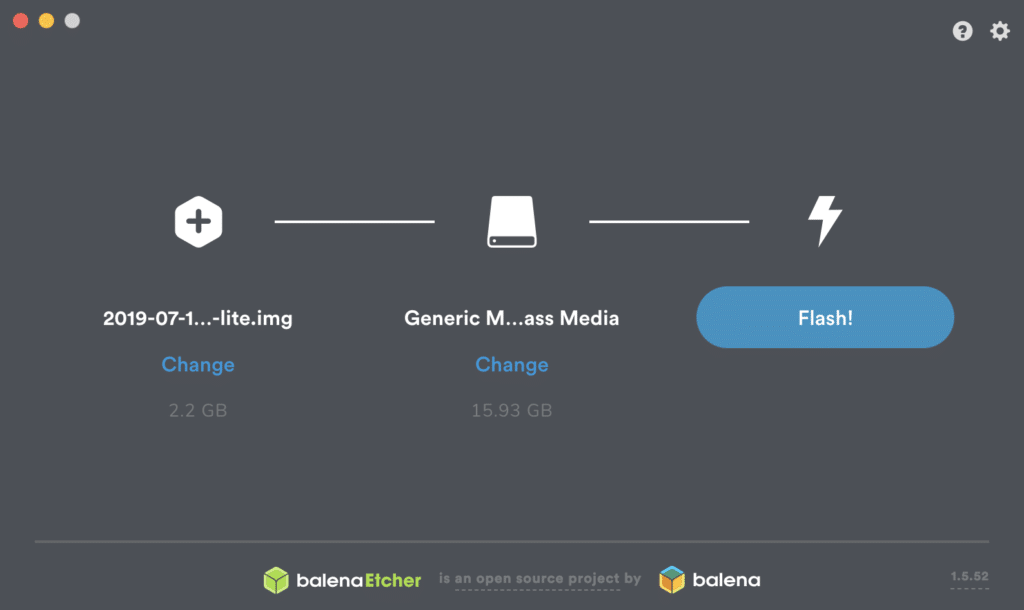
- It will take some time for the flashing process to complete
- Go and have a nice cup of coffee
Step 2: Config the flashed OS to enable SSH on boot
- Open a text editor
- Save the blank document to the SD card name it as ssh
- Open the SD card and delete the extension from the saved ssh document, for example, the file name will be ssh.txt so delete the .txt part from it
- If you cant see the extension with the file name then do as follows
- In Windows –
- Open file explorer -> change folder and search option
- Click on View tab and remove the tick from “hide extensions of known file type”.

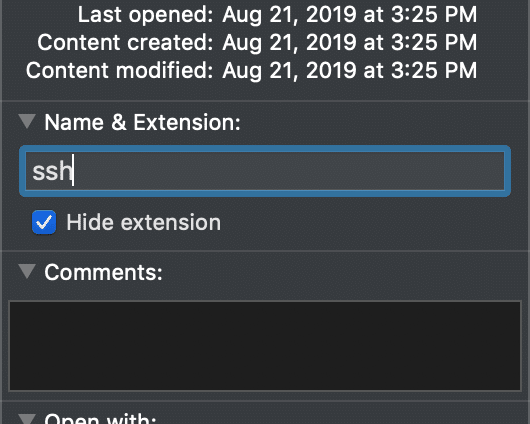
- In Mac –
- Right-click on the ssh file -> get info
- Then from name & extension remove the extension part
- That’s it, now our SD card is ready to boot
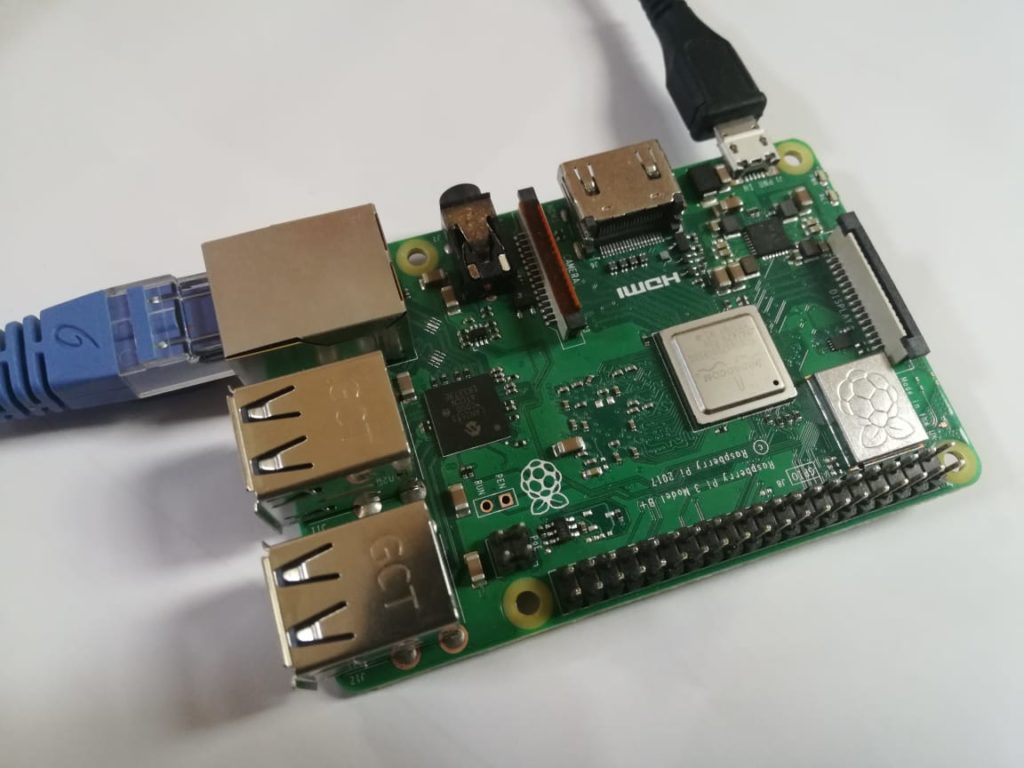
Step 3: Powering up the Pi
- Insert the Micro SD card.
- Connect Raspberry Pi to your network using an ethernet cable.
- Finally, connect the power supply.
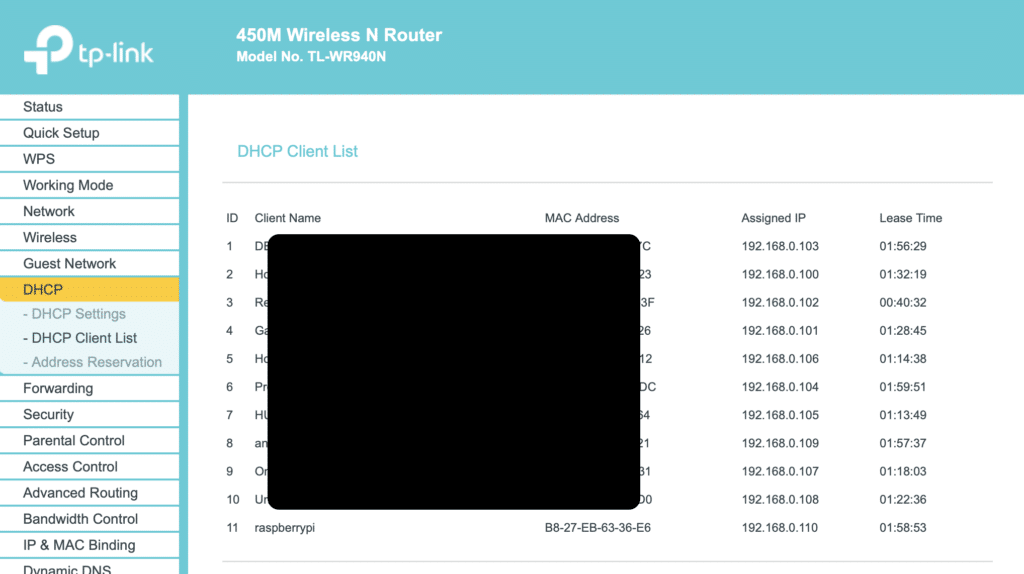
Step 4: Finding IP address of the Pi
- Find the router IP and login user name and password, it will be printed behind the router.
- Login to your router configuration page from your laptop using the IP of your router. The laptop must be connected to the network.
- Go to DHCP settings and open DHCP client list or DHCP lease status. Based on the manufacturer and model of the router there will be some changes in the settings order and names.But always look for the DHCP settings and from there you can get the list of the connected device and the IP addresses.
- From that list find raspberry and note down the IP address associated with.

Step 5: Connecting via SSH
In Windows
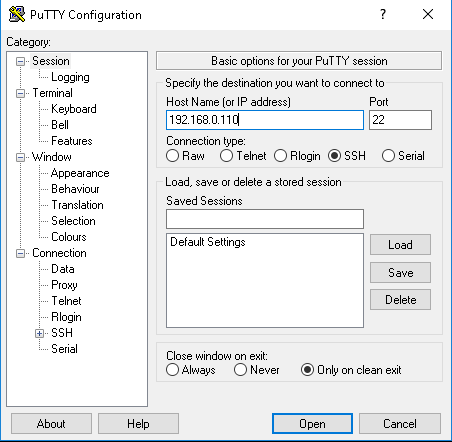
- Download and install PuTTY from here.
- PuTTY is an SSH and telnet client, developed originally by Simon Tatham for the Windows platform. PuTTY is
open-source software that is available with source code and is developed and supported by a group of volunteers.
- PuTTY is an SSH and telnet client, developed originally by Simon Tatham for the Windows platform. PuTTY is
- Then in the host name field type the IP address of your raspberry pi.
- The port should be 22 and select SSH radio button and hit open
- Then a security alert will be prompted so click yes

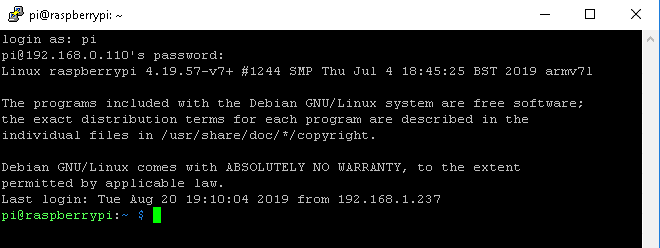
- Now enter pi as login id
- Then enter the password, by default it will be raspberry
In Mac
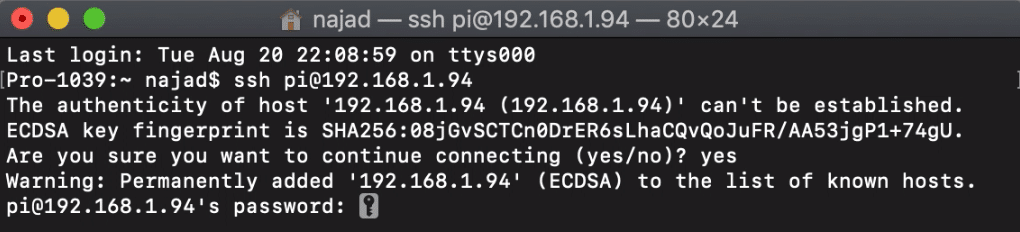
- Open a terminal window
- Type ssh
pi@your_pi_ipaddress , example ssh pi@192.168.1.94 - Then it will ask for permission to connect so type yes
- Then enter the password, by
defauld the password will be raspberry


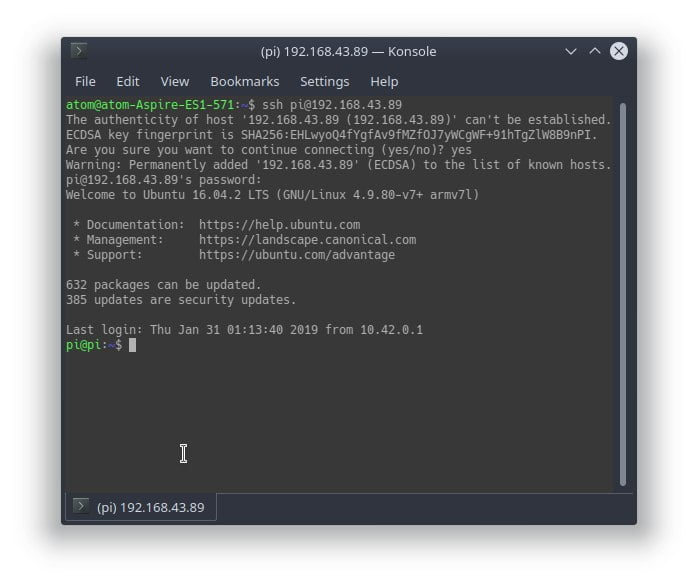
In Linux
- In Linux you can follow the same procedure as in Mac
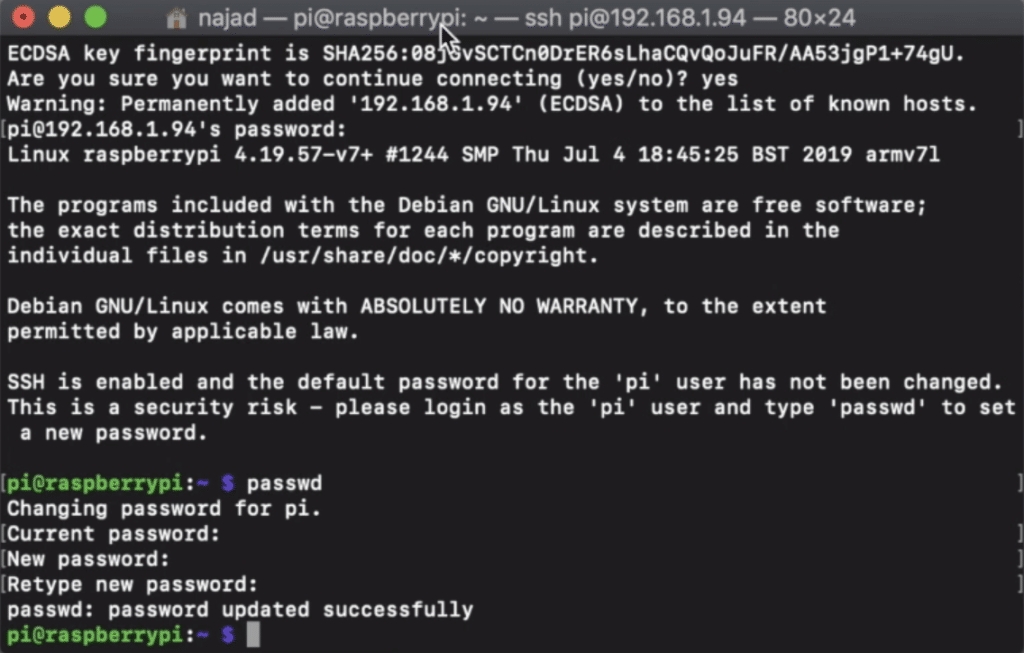
Step 6: Changing the default password
- Type passwd
- It will be promoted to enter the old password, so enter it.
- Then it will be promoted to enter the new password, press enter and repeat the new password and press enter again.
- Now the new password is successfully set.
Watch the video
If you like my work please support me by subscribing and sharing
To buy electronic components order from UTSOURCE
great information sir