
IoT Plant Monitor project we are going to use the Seeed Studios‘ new XIAO ESP32C development board to read moisture sensor data and send it to our application via WebSocket.

Concept
The concept is to run a WebSocket server in XIAO ESP32C which will read and calibrate the data from a bunch of sensors like a Soil Moisture Sensor, pH Sensor, Temperature Sensor, and Humidity Sensor and send all this information in JSON format to connected clients via the WebSockets whenever the client request for the data.
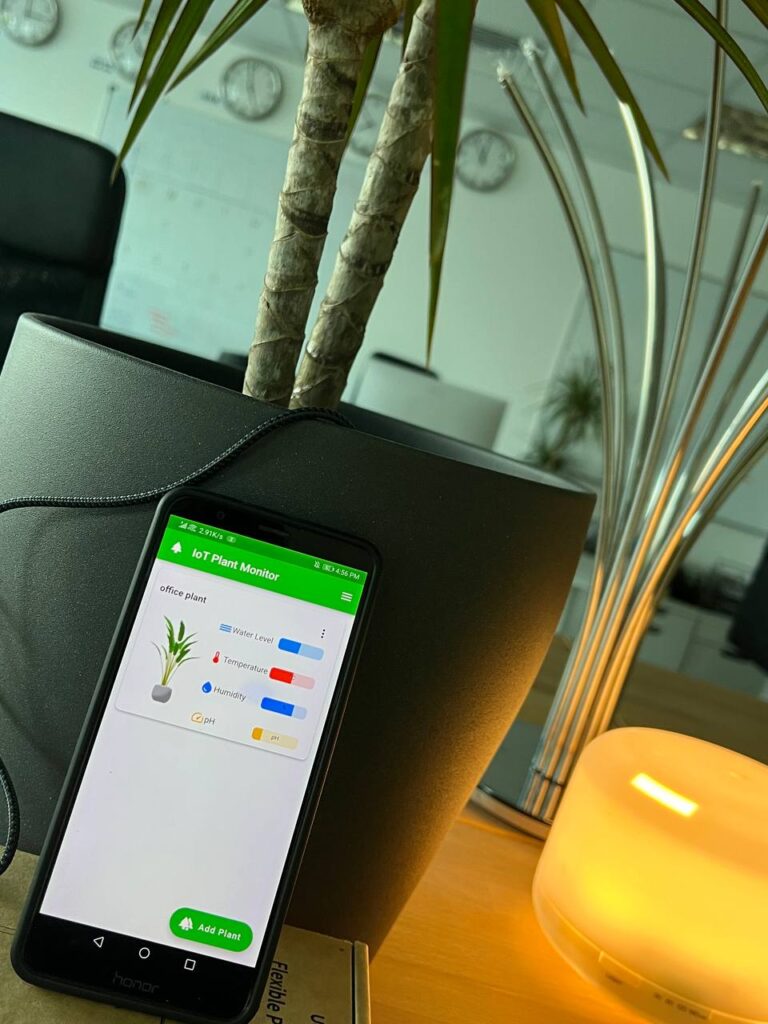
In our case, the client is a mobile application that I build in flutter which can handle multiple WebSocket connections and display all the received information in the app dashboard in an elegant graphical interface.
Note, in the below example we are only using a Soil Moisture Sensor because currently, I am not having the other sensors. In Sha Allah, I will do another project when Seeed Studio ships them.
What is WebSockets?
WebSocket is a bidirectional, full-duplex protocol used for client-server communication, Unlike HTTP, WebSocket begins with ws:/ or wss:/. Since it is a stateful protocol, the client and server connection will remain active until one of them decides to terminate the connection (client or server). The connection is cut off from both ends after being closed by either the client or the server.
Working Video
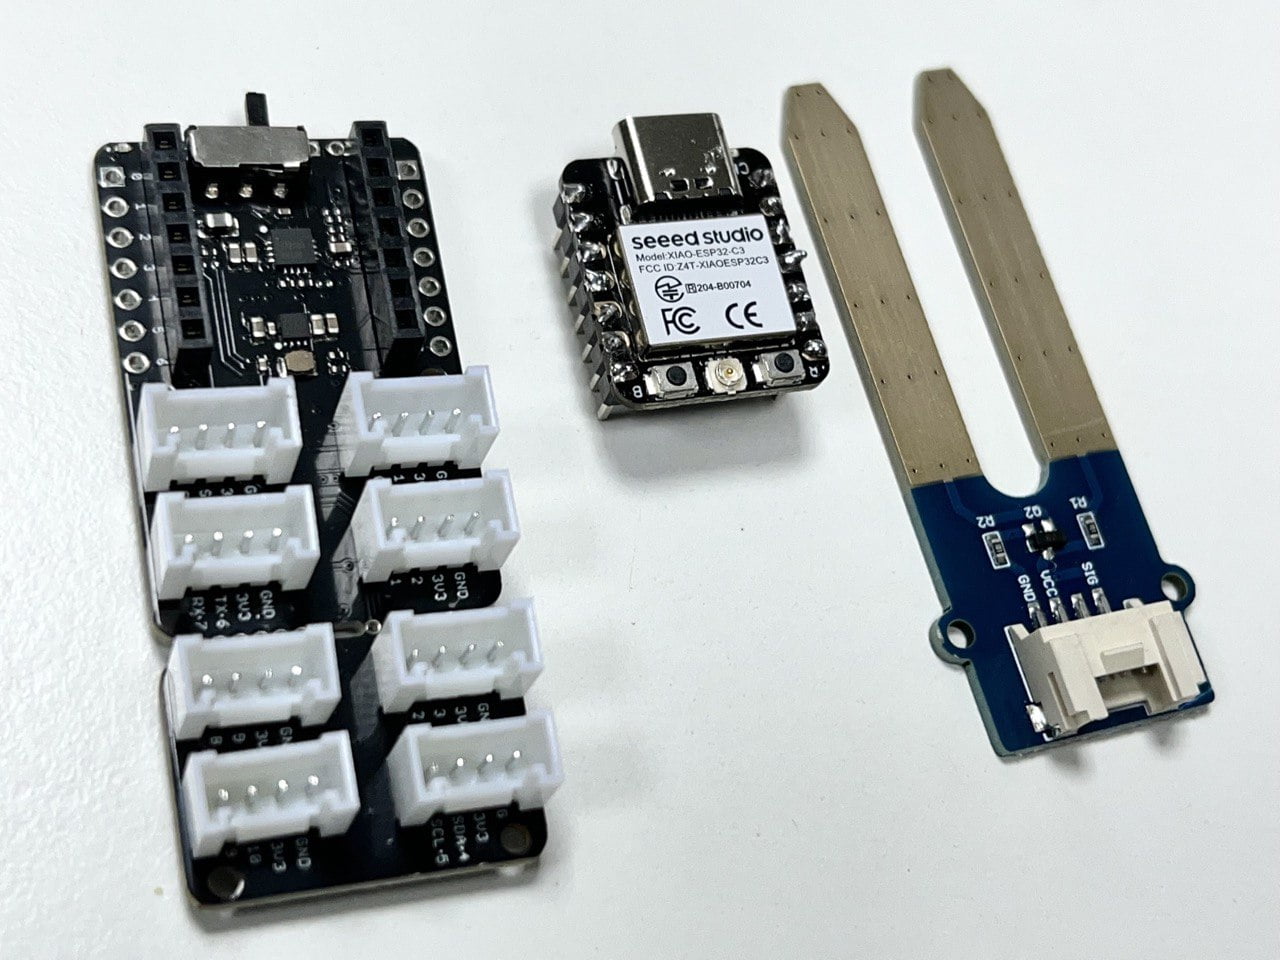
Hardware Required
| Components | SeeedStudio | AliExpress |
|---|---|---|
| XIAO ESP32C | ||
| Grove – Soil Moisture Sensor | ||
| Grove Shield for Seeed Studio XIAO |
App Required
| Application | PlayStore | AppStore |
|---|---|---|
| IoT Plant Monitor | Not Published Yet |
Libraries Required
| Libraries | Version Used | Download Link |
|---|---|---|
| WebSocket | 2.16.0 | GitHub |
Circuit
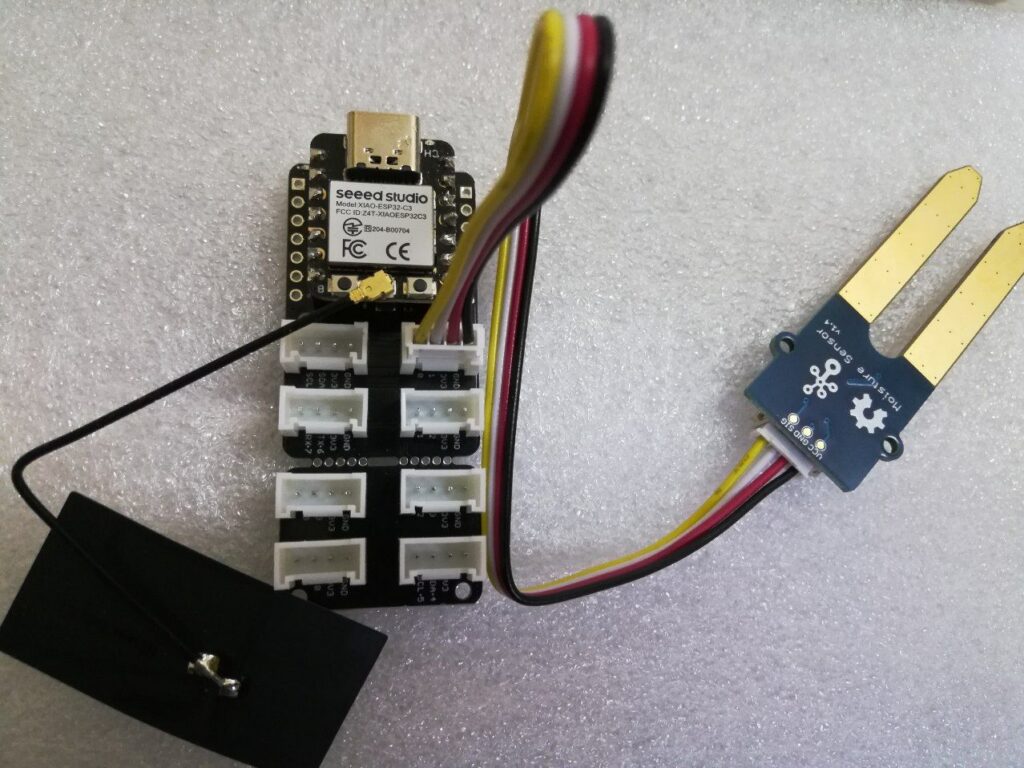
Because we are using the Grove Shield there is nothing complicated here to talk about, just connect 😉
- Solder the header pins to XIAO ESP32C3 and insert it in the Grove Sheild.
- Now connect the Soil Moisture Sensor to the first terminal.
Arduino Code
In the below Arduino program, we are reading the analog value from the soil moisture sensor then converting it to a JSON string along with some dummy values for the other sensors and sending it to all the connected clients whenever the client requests the data.
Before uploading the code to the XIAO development board, change the following
- Change the WiFi SSID and Password where it is mentioned.
- Install the WebSocket library.
// IoT Plant Monitor
// by diyusthad.com

#include <WiFi.h>
#include <WebSocketsServer.h>

int sensorPin = A0;
int moistureSensorValue = 0;

const char* ssid = "YOUR WiFi SSID";
const char* password = "WiFi PASSWORD";

WebSocketsServer webSocket = WebSocketsServer(80);

// Called when receiving message from WebSocket client
void onWebSocketEvent(uint8_t num,
                      WStype_t type,
                      uint8_t * payload,
                      size_t length) {


  switch (type) {

    // Client has disconnected
    case WStype_DISCONNECTED:
      Serial.printf("[%u] Disconnected!\n", num);
      break;

    // New client has connected
    case WStype_CONNECTED:
      {
        IPAddress ip = webSocket.remoteIP(num);
        Serial.printf("[%u] Connection from ", num);
        Serial.println(ip.toString());
      }

    // Send data back to client
    case WStype_TEXT:
      Serial.printf("[%u] Text: %s\n", num, payload);
      readSensor(num);
      break;

    // For everything else: do nothing
    case WStype_BIN:
    case WStype_ERROR:
    case WStype_FRAGMENT_TEXT_START:
    case WStype_FRAGMENT_BIN_START:
    case WStype_FRAGMENT:
    case WStype_FRAGMENT_FIN:
    default:
      break;
  }
}

void setup() {

  // Start Serial port
  Serial.begin(115200);

  // Connect to access point
  Serial.println("Connecting");
  WiFi.begin(ssid, password);
  while ( WiFi.status() != WL_CONNECTED ) {
    delay(500);
    Serial.print(".");
  }

  // Print IP address
  Serial.println("Connected!");
  Serial.print("My IP address: ");
  Serial.println(WiFi.localIP());

  // Start WebSocket server and assign callback
  webSocket.begin();
  webSocket.onEvent(onWebSocketEvent);

}

void readSensor(int num) {

  moistureSensorValue = analogRead(sensorPin); //Read analog data from the sensor
  int mapvalue = map(moistureSensorValue, 1100, 2700, 0, 100); // map the value
  String mapMoistureSensorValue = String(mapvalue); // convert the value to string

  // convert the string to JSON formate
  // I have used dummy values for temperature, humidity and pH
  String json = "{\"water_level\":";
  json += mapMoistureSensorValue;
  json += ",\"temperature\":0.5,\"humidity\":0.7,\"ph\":0.2}";

  webSocket.sendTXT(num, json); //send data to client

}

void loop()
{
  webSocket.loop();
}
Adding A Plant
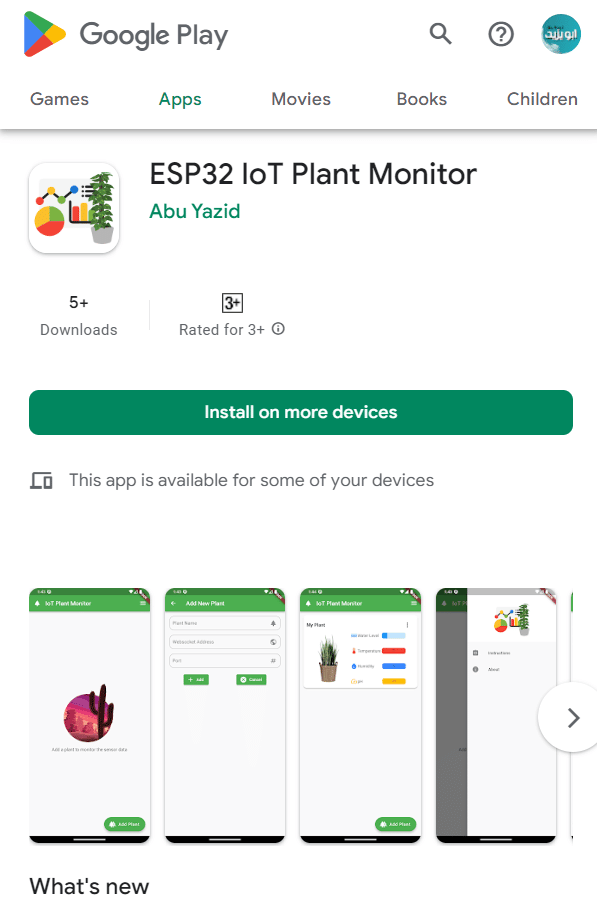
Step1: Install the IoT Plant Monitor application
Play Store: https://play.google.com/store/apps/details?id=dev.najad.iotplantmonitor
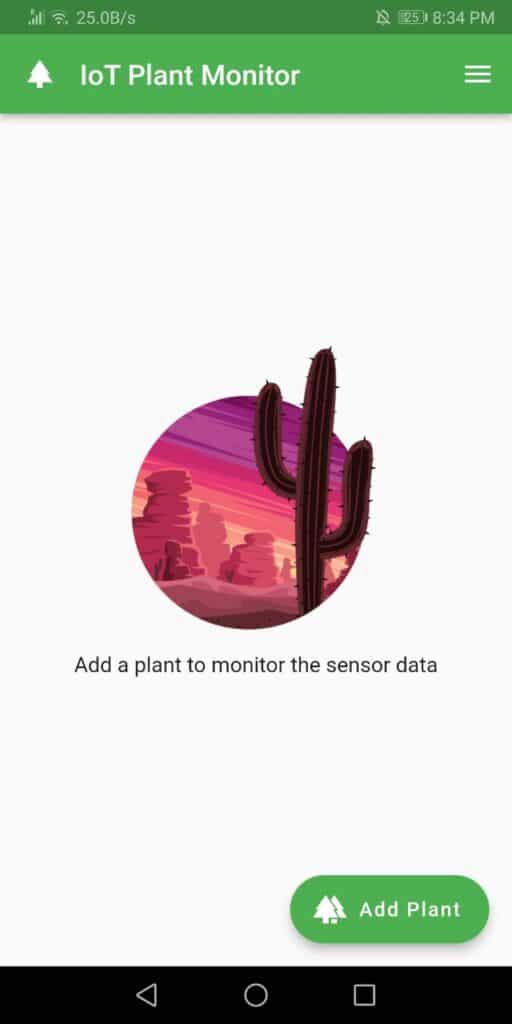
Step2: Add Plant
After the installation now opens the application. Then to add a new pant click on the “Add Plant” Button at the bottom of the home screen.
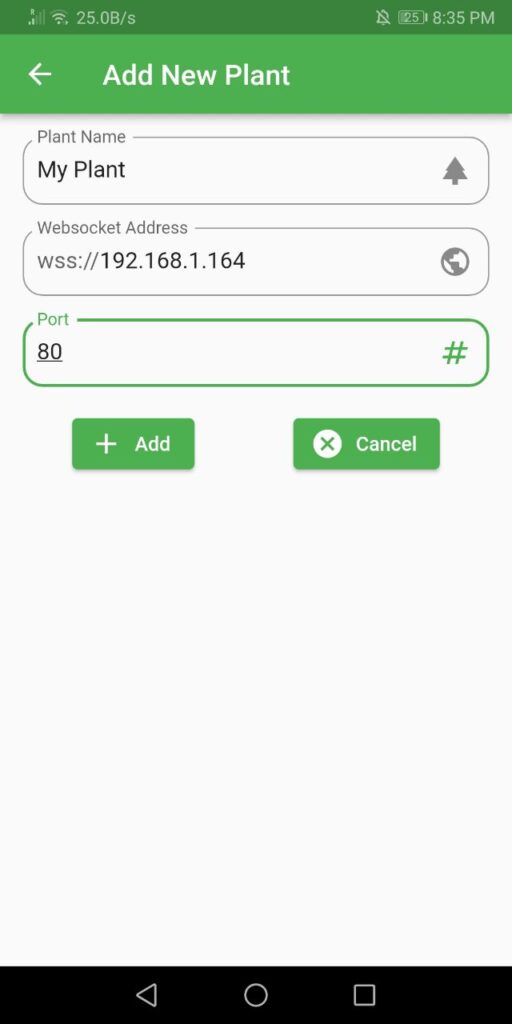
Now enter the plant name, and IP address of the XIAO development board which can be obtained from the Arduino serial monitor, then enter the port in our case it’s 80 and press the “Add” button.
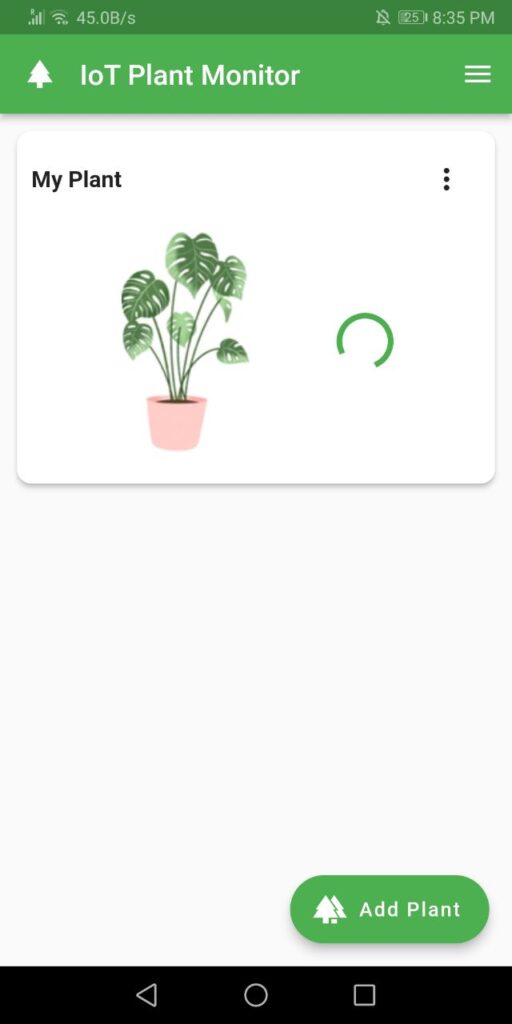
After adding a plant it will be displayed on the home screen dashboard. We can add as many plants as you want. If we want to change the interval time of how often the data is refreshed from the controller we can change it in the settings. It will take effect from the next restart.
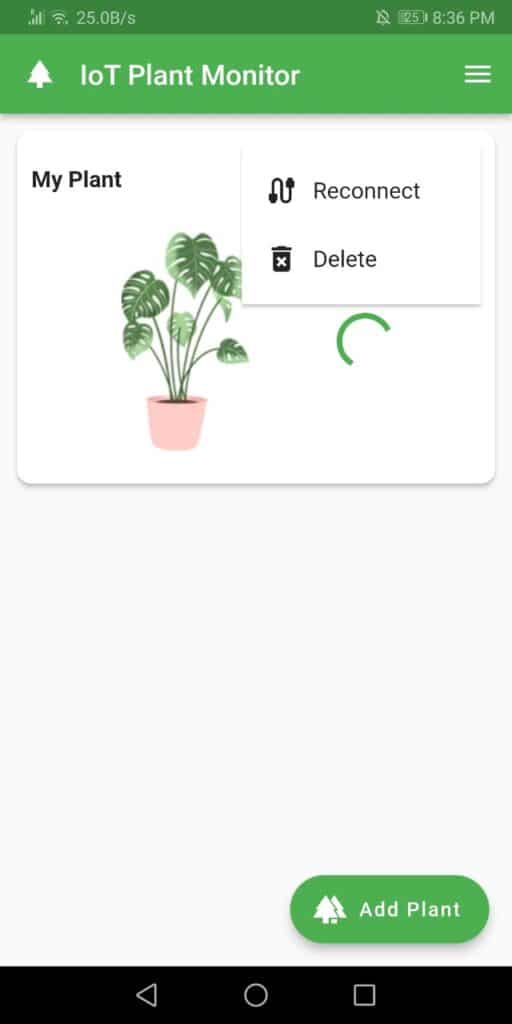
How To Delete Plants
If you want to delete a plant then click on the 3 dots on the right top corner of the plant card and select the delete option.
Conclusion
Let me thank Seeed Studio once again for sponsoring this IoT project. To improve our application and to add new features I need feedback from you guys so please comment with your suggestions and critics.
I’m interested in your flutter code. Would you publish that?
Good