Introduction
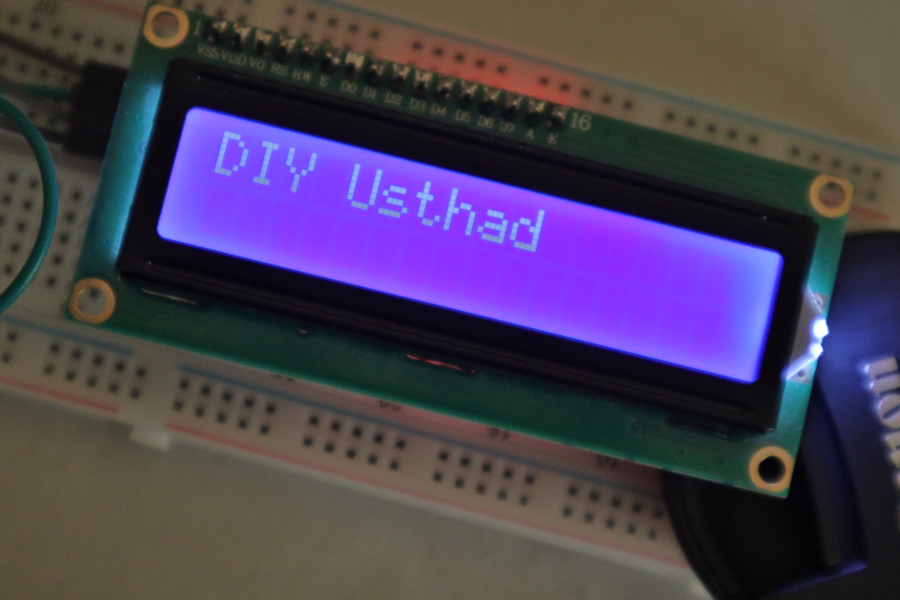
In this getting started with LCD module tutorial we are going to learn about two different ways of interfacing an LCD module with popular development boards like Arduino Nano, Arduino Uno, Arduino Mega, Arduino Leonardo.
Hardware Used
- LCD module 16 x 2
- Arduino UNO
- Arduino Nano
- Arduino Leonardo
- Arduino Mega
| Components | DIY Usthad | Amazon.com | Banggood | AliExpress |
| LCD 1602 module | ||||
| Arduino UNO | ||||
| Arduino Nano | ||||
| Arduino Leonardo | ||||
| Arduino Mega | ||||
| LCD to IIC(I2c) module |
Software Used
- Arduino IDE
Libraries Used
- LiquidCrystal Library – Will available in Arduino IDE by default – For the first method
- LiquidCrystal I2C Library – Download – For the second method
- Wire Library – Will available in Arduino IDE by default
A little bit about LCD modules…
LCD modules are coming in different colors and sizes with a different number of displayable characters. the most commonly used one is LCD1602 which can display 16 characters in each line, which is a total of 32 characters. Some other sizes are,
- LCD1604 – 16 char / 4 line
- LCD2004 – 20 char / 4 line
- LCD1602 – 16 char / 2 line
- LCD1601 – 16 char / 1 line etc…


PIN Description:
| Pin Number | Name | Description |
|---|---|---|
| 1 | VSS (0v) | Ground Potential |
| 2 | VDD (5v) | Positive Voltage |
| 3 | V0 (Contrast) | Contrast adjustment; 0v: Max contrast; 5v: Min contrast |
| 4 | RS | Register Select; 0: Instruction Register 1: Data Register |
| 5 | RW | Read Write Select pin 0: Write mode; 1: Read mode; |
| 6 | E | Enable Pin To enable the LCD Module |
| 7 | D0-D7 | LCD Data Bus line. They are responsible for the parallel data transfer. |
| 15 | LED+ (A) | Back Light Source LED Anode |
| 16 | LCD- (K) | Back Light Source LED Cathode |
First Method
In the first method, we are interfacing the LCD1602 with Arduino using the data pins of the LCD module. The same code and circuit will work for all Arduino and compatible boards. Connect the circuit as shown in the below diagram.
Circuit


| # | Arduino | LCD1602 |
|---|---|---|
| 1 | GND | VSS,V0,RW,K |
| 2 | 5V | VDD |
| 3 | 12 | RS |
| 4 | 11 | E |
| 5 | 5 | D4 |
| 6 | 4 | D5 |
| 7 | 3 | D6 |
| 8 | 2 | D7 |
| 9 | 3.3V | A |
- First, connect the ground of Arduino to the VSS of the LCD.
- Then connect the V0 of the LCD to the ground for full contrast
- Then connect RW to the ground for selecting write mode
- Then connect K, which is the ground of backlight LED also to the ground.
- Then connect the 5V of Arduino to the VDD of the LCD module.
- Then connect the digital pin 12 of Arduino to the RS of LCD module.
- Then connect the digital pin 11 of Arduino to the E of LCD module.
- Then connect the digital pin 5 of Arduino to the D4 of LCD module.
- Then connect the digital pin 4 of Arduino to the D5 of LCD module.
- Then connect the digital pin 3 of Arduino to the D6 of LCD module.
- Then connect the digital pin 2 of Arduino to the D7 of LCD module.
- And finally, connect the 3.3V of Arduino to the A of LCD which is the anode of backlight LED.
Code
//www.diyusthad.com
#include <LiquidCrystal.h>

const int rs = 12, en = 11, d4 = 5, d5 = 4, d6 = 3, d7 = 2;
LiquidCrystal lcd(rs, en, d4, d5, d6, d7);

void setup() {
  lcd.begin(16, 2);
  lcd.print("First line");
  lcd.setCursor(0,1);
  lcd.print("Second line");
}

void loop() {
}
Video
Second Method
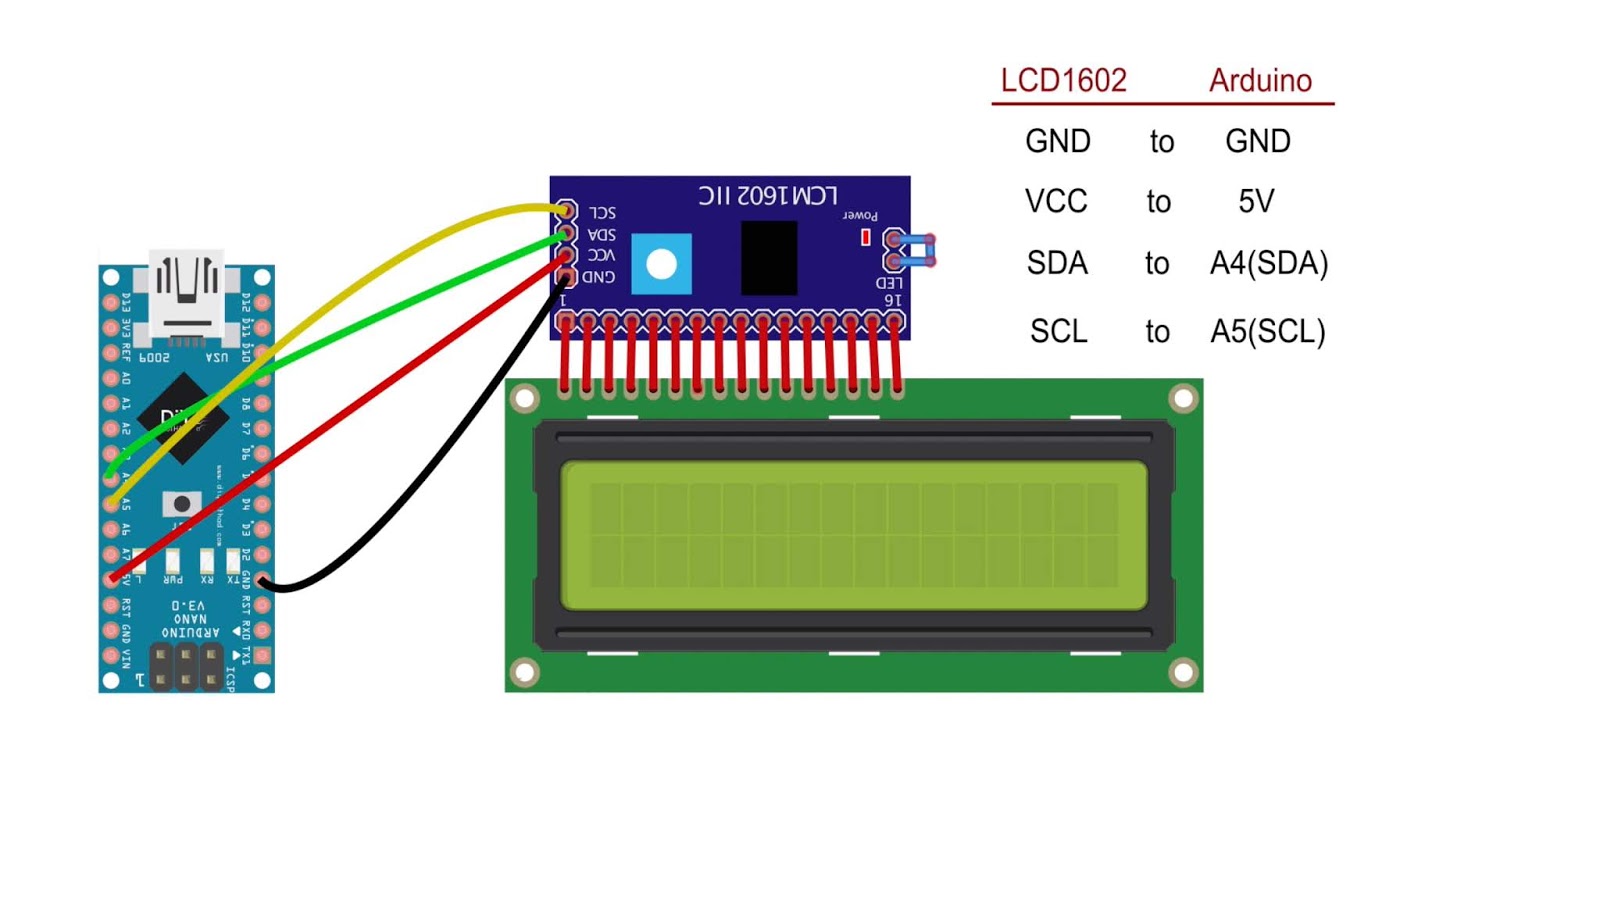
In the second method, we are using a module that converts the 16 pins of the LCD module to just 4 pins I2C communication interface (including power & ground). Connect the circut as shown in the below diagram.
Circuit


List of I2C ports in common dev boards


Code
//www.diyusthad.com
#include <Wire.h>
#include <LiquidCrystal_I2C.h>

LiquidCrystal_I2C lcd(0x27,16,2);  // set the LCD address to 0x27 for a 16 chars and 2 line display

void setup()
{
  lcd.init();
  lcd.backlight();
  lcd.setCursor(5,0);
  lcd.print("Arduino");
  lcd.setCursor(6,1);
  lcd.print("Nano");
}

void loop()
{
}

