
In this tutorial, we’ll walk you through creating an ONVIF-compatible IP camera using the ESP32-CAM module. ONVIF (Open Network Video Interface Forum) is a global standard for IP-based security products, making your camera compatible with a wide range of NVRs (Network Video Recorders) and VMS (Video Management Systems).
Materials Needed:
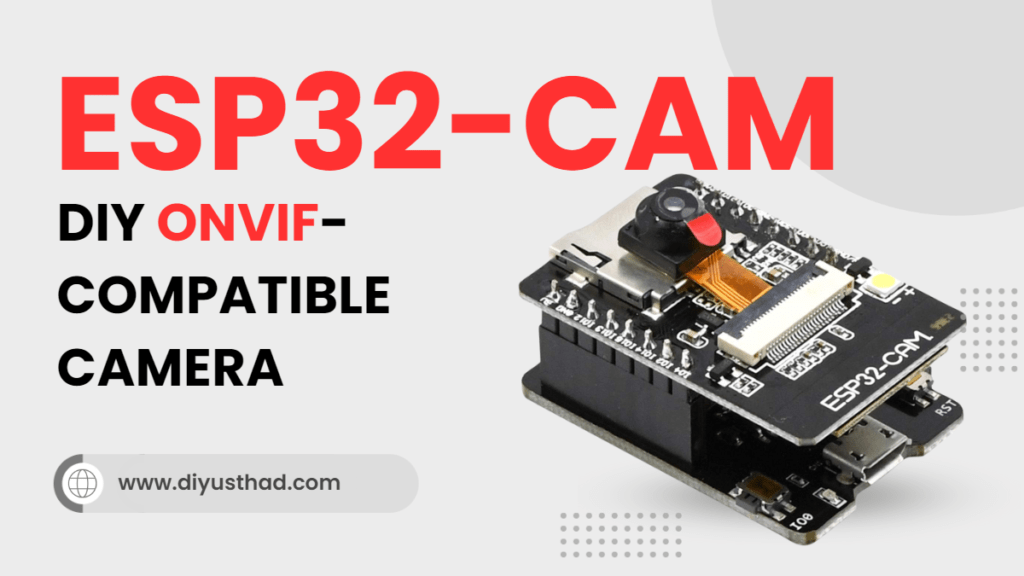
- ESP32-CAM module
- FTDI USB-to-Serial adapter
- Breadboard and jumper wires
- MicroSD card (optional, for video storage)
- 5V power supply
Step 1: Setting Up the ESP32-CAM
- Connect the ESP32-CAM to your computer:
- Connect the FTDI adapter to your computer via USB.
- Wire the FTDI adapter to the ESP32-CAM as follows:
- FTDI VCC to ESP32-CAM 5V
- FTDI GND to ESP32-CAM GND
- FTDI RX to ESP32-CAM U0T
- FTDI TX to ESP32-CAM U0R
- Connect GPIO 0 to GND to enable programming mode.
- Install the Arduino IDE:
- If you haven’t installed the Arduino IDE yet, download and install it from here.
- Set Up the Arduino IDE:
- Open the Arduino IDE.
- Go to
File>Preferencesand add the following URL in the “Additional Board Manager URLs” field:
https://dl.espressif.com/dl/package_esp32_index.json
- Go to
Tools>Board>Board Managerand search for “ESP32” and install the package. - Select
AI Thinker ESP32-CAMfrom theTools > Boardmenu. - Set the upload speed to
115200.
Step 2: Writing the Arduino Code
We will use the ESP32-CAM as a basic IP camera streaming video over RTSP, then integrate the ONVIF protocol for compatibility with NVRs.
#include <WiFi.h>
#include "esp_camera.h"
#include "OV2640.h"
#include "ESPmDNS.h"
#include "WiFiUdp.h"
#include "ArduinoOTA.h"
#include "ONVIF.h"

// Replace with your network credentials
const char* ssid = "your_SSID";
const char* password = "your_PASSWORD";

// OV2640 camera
OV2640 cam;

void setup() {
  Serial.begin(115200);
  Serial.setDebugOutput(true);
  Serial.println();

  // Connect to Wi-Fi
  WiFi.begin(ssid, password);
  while (WiFi.status() != WL_CONNECTED) {
    delay(500);
    Serial.print(".");
  }
  Serial.println("");
  Serial.println("WiFi connected.");
  Serial.print("Camera Stream Ready! Go to: http://");
  Serial.print(WiFi.localIP());

  // Start the camera
  cam.init(esp32cam_config);
  cam.run();

  // Initialize ONVIF service
  ONVIF.onvif_start(WiFi.localIP());

  // Enable mDNS
  if (!MDNS.begin("esp32cam")) {
    Serial.println("Error setting up MDNS responder!");
  } else {
    Serial.println("mDNS responder started");
  }

  // OTA Update Setup
  ArduinoOTA.begin();
}

void loop() {
  ArduinoOTA.handle();
  ONVIF.onvif_loop();
}
Step 3: Flash the Code
- Upload the code to the ESP32-CAM:
- Press the
Uploadbutton in the Arduino IDE. - Once the code is compiled, hold the
RSTbutton on the ESP32-CAM module, then release it after a moment to enter the programming mode.
- Press the
- Monitor the Serial Output:
- After uploading the code, open the Serial Monitor (
Ctrl + Shift + M) to check if the ESP32-CAM connects to your Wi-Fi network.
- After uploading the code, open the Serial Monitor (
Step 4: Testing the Camera
- Open a web browser and enter the IP address shown in the Serial Monitor to view the camera feed.
- Use an ONVIF-compatible viewer or NVR to detect and stream from your ESP32-CAM.
Step 5: Troubleshooting
- Wi-Fi Connection Issues: Ensure your Wi-Fi credentials are correct and that the ESP32-CAM is within range of your router.
- Camera Initialization Issues: Ensure that the camera module is securely connected and that you’re using the correct camera model in your code.
- ONVIF Compatibility: Make sure your ONVIF viewer or NVR is set to detect devices on the same local network.
This tutorial gives you a basic setup for an ONVIF-compatible camera using the ESP32-CAM. The ONVIF protocol allows you to integrate this camera with a wide range of security systems, making it a flexible and powerful addition to your DIY projects.
Great little project, but cannot yet get it to compile…
could you please add information where to find the include files OV2640.h and ONVIF.h (or which libraries need to be installed first)? Thanks!
Where to find “onvif.h” library ??? Thanks.
fatal error: OV2640.h: No such file or directory
where I can find includes for sketch?
is this topic dead?