
One of the most commonly used sensors in Arduino projects is the DHT11 temperature and humidity sensor. In this article, we will guide you through the process of interfacing Arduino Uno with DHT11 and show you how to read data from the sensor.

What is DHT11 Sensor?
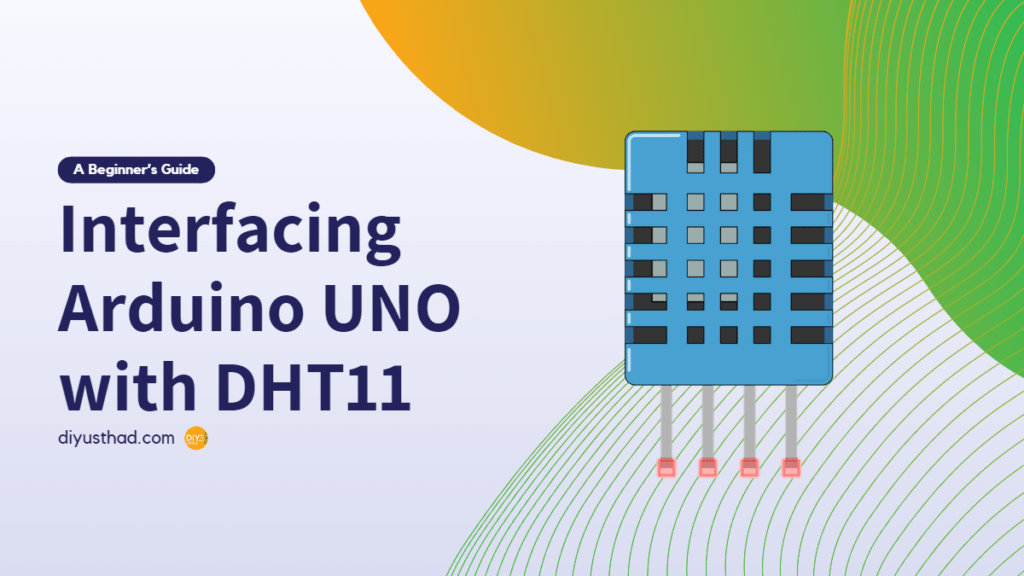
DHT11 is a low-cost digital temperature and humidity sensor that uses a capacitive humidity sensor and a thermistor to measure the surrounding air’s relative humidity and temperature. The sensor’s output is a digital signal that can be easily read by the Arduino board using a single digital pin.
The DHT11 sensor’s accuracy is +/- 2°C for temperature and +/- 5% for humidity, making it suitable for a wide range of applications such as home automation, weather monitoring, and agriculture.
Hardware Required
| Components | DIY Usthad Store | Ali Express | Amazon.com |
|---|---|---|---|
| DHT11 | |||
| Arduino UNO |
Interfacing Arduino Uno with DHT11
To start interfacing DHT11 with Arduino Uno, follow these steps:
Note
Step 1: Connecting DHT11 Sensor to Arduino Uno
The DHT11 sensor has three pins: VCC, DATA, and GND. Connect the VCC pin to the 5V pin on the Arduino board, and the GND pin to the GND pin on the board. Finally, connect the DATA pin to any available digital pin on the board, for example, pin 2.
Step 2: Installing the Required Libraries
To read data from the DHT11 sensor, we need to install the “DHT” libraries: Open the Arduino IDE and navigate to Sketch > Include Library > Manage Libraries. Search for “DHT” and install them.
Step 3: Writing the Code
Now that we have connected the DHT11 sensor and installed the required libraries, we can write the code to read data from the sensor. Open a new sketch in the Arduino IDE and copy-paste the following code:
#include <DHT.h>
This line includes the DHT library in the program, which is used to interface with the DHT11 temperature and humidity sensor.
#define DHTPIN 2          // Digital pin connected to the DHT sensor
#define DHTTYPE DHT11     // DHT 11
These two lines define constants that are used later in the code. DHTPIN is set to the digital pin number that the DHT11 sensor is connected to, and DHTTYPE specifies the type of sensor being used (in this case, a DHT11).
DHT dht(DHTPIN, DHTTYPE);
This line creates an instance of the DHT class named dht, taking the previously defined constants as arguments.
void setup() {
  Serial.begin(9600);
  dht.begin();
}
The setup() function sets up the initial configuration for the program. It begins serial communication at a baud rate of 9600 (which allows data to be sent and received between the Arduino and a computer) using the Serial.begin() function, and initializes the dht instance by calling its begin() method.
void loop() {
  delay(2000);           // Wait for 2 seconds before reading
  float humidity = dht.readHumidity();    // Read humidity
  float temperature = dht.readTemperature();  // Read temperature
  Serial.print("Humidity: ");
  Serial.print(humidity);
  Serial.print("%  Temperature: ");
  Serial.print(temperature);
  Serial.println("°C");
}
The loop() function is run continuously after the setup() function has completed. In this case, it does the following:
- Waits for 2 seconds using the
delay()function - Calls the
readHumidity()andreadTemperature()methods of thedhtinstance to read the current humidity and temperature values from the sensor, respectively - Prints out the humidity and temperature values over serial communication using the
Serial.print()function. The%and°Ccharacters are also printed to provide context for the values. - Ends the line of output using
Serial.println()
Overall, this code sets up an Arduino board to read temperature and humidity values from a DHT11 sensor connected to digital pin 2 and print those values to the Serial Monitor every 2 seconds.
Complete Code
#include <DHT.h>
#define DHTPIN 2          // Digital pin connected to the DHT sensor
#define DHTTYPE DHT11     // DHT 11
DHT dht(DHTPIN, DHTTYPE);
void setup() {
  Serial.begin(9600);
  dht.begin();
}
void loop() {
  delay(2000);           // Wait for 2 seconds before reading
  float humidity = dht.readHumidity();    // Read humidity
  float temperature = dht.readTemperature();  // Read temperature
  Serial.print("Humidity: ");
  Serial.print(humidity);
  Serial.print("%  Temperature: ");
  Serial.print(temperature);
  Serial.println("°C");
}
The above code initializes the DHT11 sensor and reads the humidity and temperature data from it using the dht.readHumidity() and dht.readTemperature() functions. The data is then printed on the serial monitor using the Serial.print() function.
Step 4: Uploading the Code
Connect the Arduino board to your computer via USB cable and select the correct board type and port under Tools > Board and Tools > Port, respectively. Then click on the Upload button to upload the code to the board.
Step 5: Testing the Setup
After uploading the code, open the serial monitor by clicking on the magnifying glass icon on the top right corner of the Arduino IDE. You should see the humidity and temperature readings being printed on the screen every two seconds.
Conclusion
In this article, we have learned how to interface Arduino Uno with DHT11, a low-cost digital temperature and humidity sensor. We have seen how easy it is to connect the sensor to the board, install the required libraries, and read data from it using simple code.
The DHT11 sensor’s accuracy may not be suitable for some applications that require high precision, but it is an excellent choice for hobbyists and beginners who want to get started with Arduino and electronic sensors.
We hope this article has been helpful in getting you started with interfacing Arduino Uno with DHT11. Happy tinkering!