
All the development boards come with hardware support for digital communications protocols such as I2C, SPI, and UART. However, you will get stuck if you need more of these interfaces or when you want to use unsupported tech than what is available on the board by default. That’s when the PIO (Programmable I/O) came to play!

You can use the programmable IOs provided in the RP2040 microcontroller to extend any communication interfaces which you need.
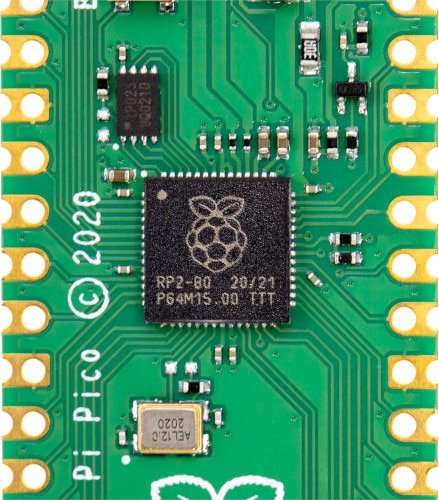
PIO was developed just for RP2040 and is unique to the chip
For example, Let’s say you want to output a DPI video or communicate with a serial device you bought from china, it is now possible with Programmable I/O. Like the name says, ‘Programmable’ I/O clarifies that it can be programmed directly to support several interfaces, including SD card interface, VGA output, and higher speed data transfer.