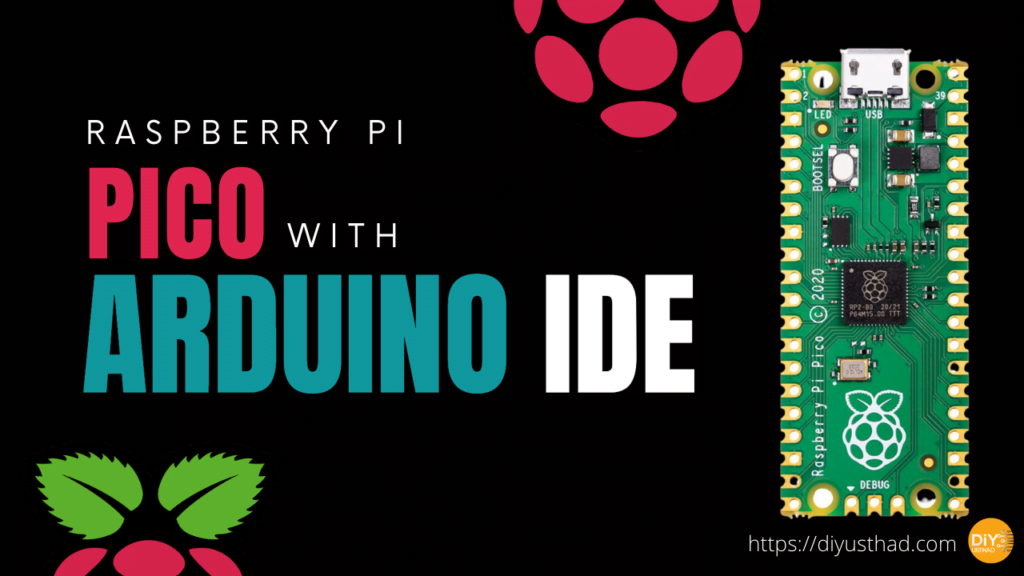
To use the Raspberry Pi Pico with Arduino IDE, you will need to first ensure that you have the latest version of the Arduino IDE installed on your computer. Then, follow these steps:
- Open the Arduino IDE and go to “File” > “Preferences“.
- In the “Additional Boards Manager URLs” field, enter the following URL: https://www.raspberrypi.org/package_raspberrypi_pico_index.json
- Click “OK” to save the changes.
- Go to “Tools” > “Board” > “Boards Manager“.
- In the search field, type “Raspberry Pi Pico” and press enter.
- Click on the “Raspberry Pi Pico” entry, then click “Install“.
- Once the installation is complete, go to “Tools” > “Board” and select “Raspberry Pi Pico” from the list of available boards.
At this point, you should be able to use the Raspberry Pi Pico in the Arduino IDE just like any other board. You can now create and upload sketches to the Pico using the Arduino IDE.
With screenshots for newbies
Step 1
Open your Arduino IDE, go to the File menu and click on Preferences.
Step 2
Now when the Preference window opens click on the small window icon next to the Additional Board Manager URLs filed.
Step 3
Now paste this URL “https://www.raspberrypi.org/package_raspberrypi_pico_index.json” in the field and click OK, do not delete if you already have existing URLs from ESP32 or ESP8266, or any other platform.
Step 4
Now go to the Tools menu and click on Board and select Board Manager.
Step 5
Now when the Board Manager opens search for “Raspberry Pi Pico” and click Install for the “Arduino Mbed OS RP2040 Boards“. It will take some time for the installation to complete.
Step 6
To test if the installation is proper just go to the Tools menu and go to Board and you should see “Arduino Mbed OS RP2040 Boards -> Raspberry Pi Pico”.
Now you are ready to start your Awsome programming journey with the new Raspberry Pi Pico with Arduino IDE.

