


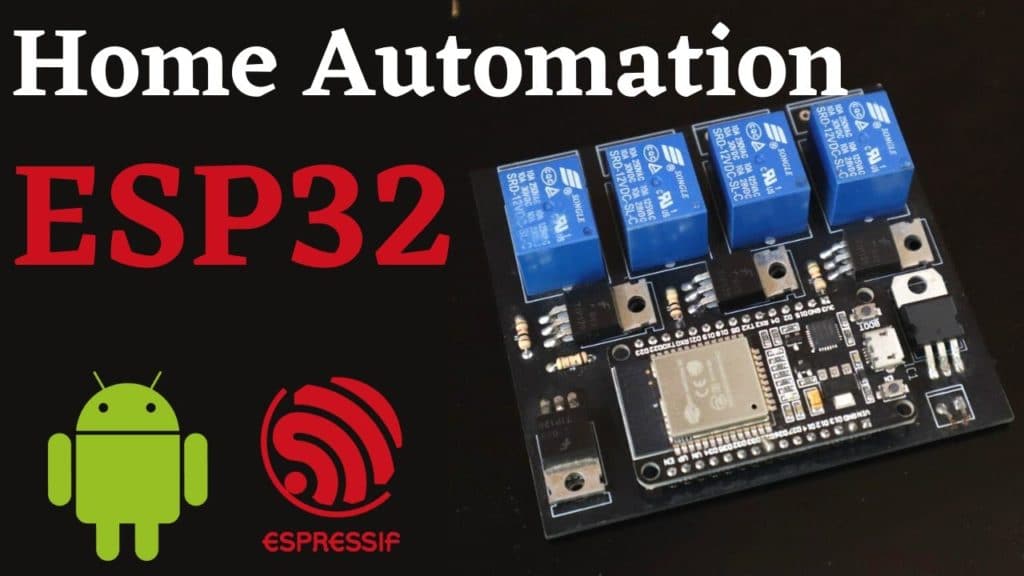
In this project, we are going to do a Home Automation setup using ESP32 Web server and controlling it through an Android application. Check the video below to see it in action.

First, let me thank![]()

Things Required
| Components | Amazon | Banggood | AliExpress |
|---|---|---|---|
| ESP32 Dev Board | |||
| 12v Relay | |||
| TIP120 | |||
| 2.2k Resistor | |||
| PCB |


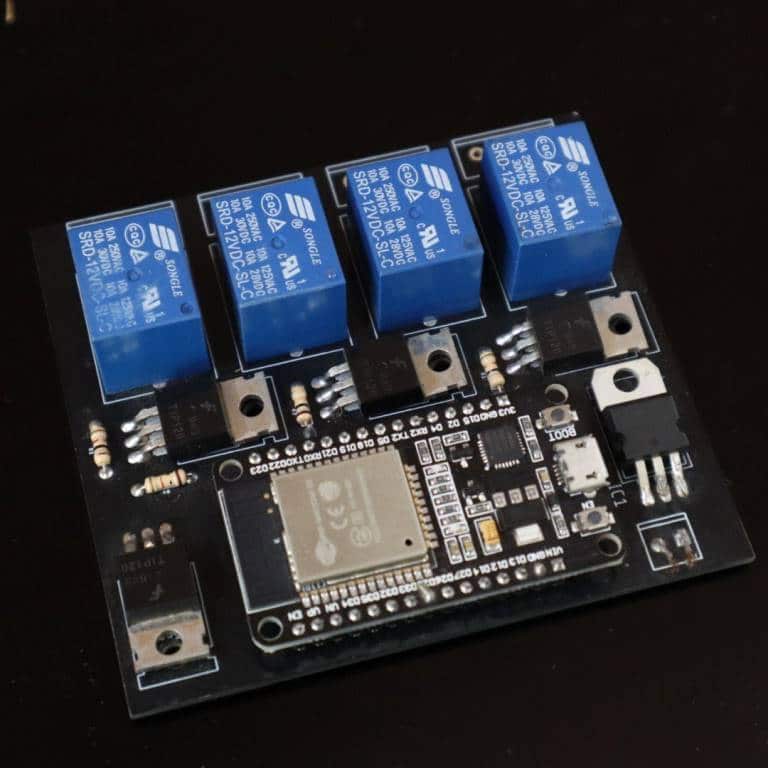
Circuit


PCB Prototyping From PCBWay
Step 1: Download Gerber Files

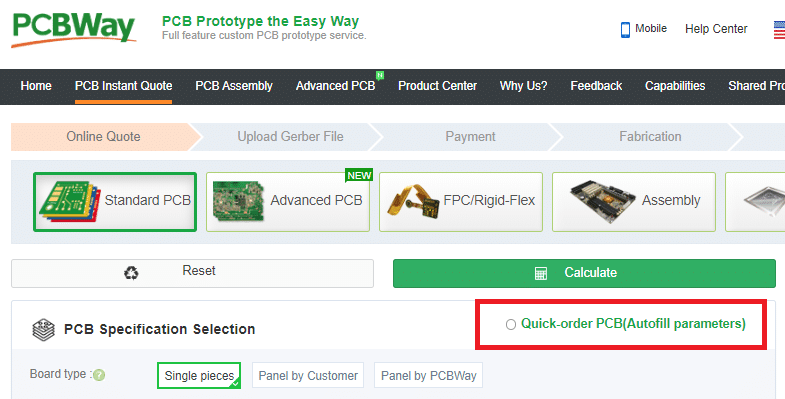
Step 2: Upload in PCBWay
- Go to https://www.pcbway.com/orderonline.aspx
- Click on Quick-order PCB(Autofill parameters)

- Now click the +Add Gerber File button.
- Then choose the file from your computer and upload.

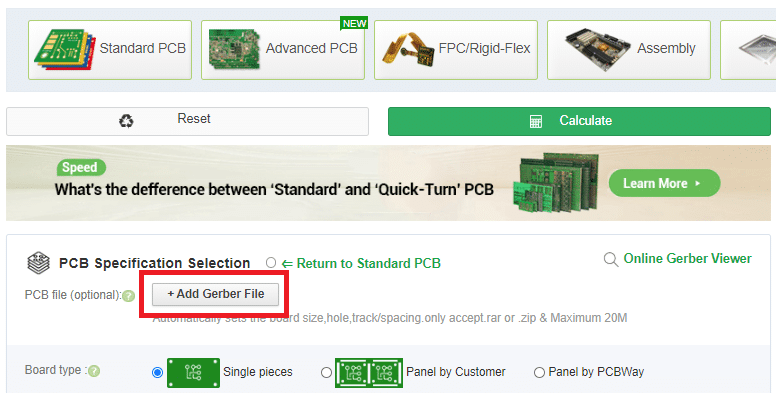
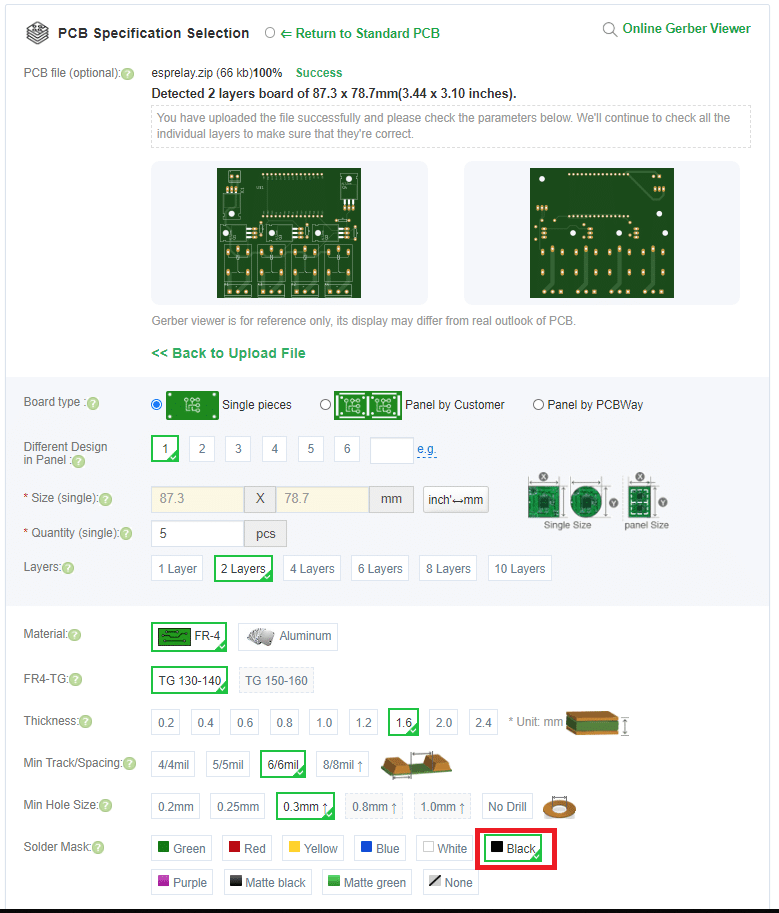
- After uploading you can view an image of the PCB
- There are a lot of settings to choose from, I just left everything to default except the color. Black is my fav ????

- Now choose your shipping method and country and click on save to cart button.
- Then create an account or login if you already have an account in PCBWay.
- Make the payment and your PCB will reach you in a few days ????.


Android App To Send HTTP Requests
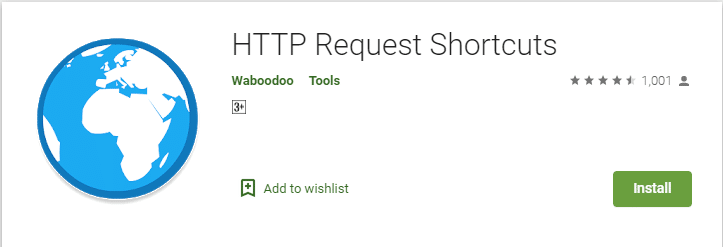
Click the Install button to install the HTTP Request Shortcuts app in your android phone.

A Short note on this application
Place shortcuts (widgets) on your home screen to submit HTTP requests to all your favorite RESTful APIs, web services, and other URL resources. Great for home automation & IoT projects!
This app is open-source, find it on Github: https://github.com/Waboodoo/HTTP-Shortcuts. It’s also completely free and contains no ads, because who wants those anyway.
Configuring
- After installation open the application.
- Click on the + button in the bottom right corner.


- Then select Regular Shortcut from the create new shortcut menu.

- Now write the Shortcut Name & Description.
- You can also change the icon by clicking on the icon at the top.
- Now click on the Basic Request Settings.

- From the Basic Request Settings choose,
- GET as the method.
- Type the webserver URL for turn ON/OFF the Relay as shown.
- Now click the back arrow.

- After entering all the details the final page will look like this.
- Now press the Tick button to save.

- Now we have successfully added Button for one relay.
- Like the same add buttons for all the relays.
- For adding shortcut in home screen, press and hold any button and select create shortcut button.

Code
#include <WiFi.h>

// Replace with your network credentials
const char* ssid     = "your ssid";
const char* password = "your password";

WiFiServer server(80);                                     // Set web server port number to 80

String header;                                             // Variable to store the HTTP request

const int relay1 = 19;
const int relay2 = 21;
const int relay3 = 22;
const int relay4 = 23;
const int LED = 2;


void setup()
{
  Serial.begin(115200);

  pinMode(relay1, OUTPUT);                               // Initialize the output variables as outputs
  digitalWrite(relay1, LOW);                             // Set outputs to LOW

  pinMode(relay2, OUTPUT);                               // Initialize the output variables as outputs
  digitalWrite(relay2, LOW);                             // Set outputs to LOW

  pinMode(relay3, OUTPUT);                               // Initialize the output variables as outputs
  digitalWrite(relay3, LOW);                             // Set outputs to LOW

  pinMode(relay4, OUTPUT);                               // Initialize the output variables as outputs
  digitalWrite(relay4, LOW);                             // Set outputs to LOW

  pinMode(LED,OUTPUT);
  digitalWrite(LED,LOW);

  // Connect to Wi-Fi network with SSID and password
  Serial.print("Connecting to ");
  Serial.println(ssid);
  WiFi.begin(ssid, password);
  while (WiFi.status() != WL_CONNECTED) {
    delay(500);
    Serial.print(".");
  }
  // Print local IP address and start web server
  Serial.println("");
  Serial.println("WiFi connected.");
  Serial.println("IP address: ");
  Serial.println(WiFi.localIP());
  server.begin();
}

void loop()
{
  WiFiClient client = server.available();   // Listen for incoming clients

  if (client) // If a new client connects,
  {
    Serial.println("New Client.");          // print a message out in the serial port
    String currentLine = "";                // make a String to hold incoming data from the client
    while (client.connected()) // loop while the client's connected
    {
      if (client.available()) // if there's bytes to read from the client,
      {
        char c = client.read();             // read a byte, then
        Serial.write(c);                    // print it out the serial monitor
        header += c;
        if (c == '\n') // if the byte is a newline character
        {
          // if the current line is blank, you got two newline characters in a row.
          // that's the end of the client HTTP request, so send a response:
          if (currentLine.length() == 0)
          {
            // HTTP headers always start with a response code (e.g. HTTP/1.1 200 OK)
            // and a content-type so the client knows what's coming, then a blank line:
            client.println("HTTP/1.1 200 OK");
            client.println("Content-type:text/html");
            client.println("Connection: close");
            client.println();

            // Relay 1 GPIO control
            if (header.indexOf("GET /1") >= 0)
            {
              if(digitalRead(relay1)== LOW)
              {
                Serial.println("Relay 1 ON");
                digitalWrite(relay1, HIGH);
                client.print("Relay 1 ON");
              }
              else
              {
                Serial.println("Relay 1 OFF");
                digitalWrite(relay1, LOW);
                client.print("Relay 1 OFF");
              }
            }

              // Relay 2 GPIO control

              else if (header.indexOf("GET /2") >= 0)
            {
              if(digitalRead(relay2)== LOW)
              {
                Serial.println("Relay 2 ON");
                digitalWrite(relay2, HIGH);
                client.print("Relay 2 ON");
              }
              else
              {
                Serial.println("Relay 2 OFF");

                digitalWrite(relay2, LOW);
                client.print("Relay 2 OFF");
              }
            }

              // Relay 3 GPIO control

             else if (header.indexOf("GET /3") >= 0)
            {
              if(digitalRead(relay3)== LOW)
              {
                Serial.println("Relay 3 ON");
                digitalWrite(relay3, HIGH);
                client.print("Relay 3 ON");
              }
              else
              {
                Serial.println("Relay 3 OFF");
                digitalWrite(relay3, LOW);
                client.print("Relay 3 OFF");
              }
            }

              // Relay 4 GPIO control

              else if (header.indexOf("GET /4") >= 0)
            {
              if(digitalRead(relay4)== LOW)
              {
                Serial.println("Relay 4 ON");
                digitalWrite(relay4, HIGH);
                client.print("Relay 4 ON");
              }
              else
              {
                Serial.println("Relay 4 OFF");
                digitalWrite(relay4, LOW);
                client.print("Relay 4 OFF");
              }
            }

            // LED GPIO control

             else if (header.indexOf("GET /9") >= 0)
            {
              if(digitalRead(LED)== LOW)
              {
                Serial.println("LED ON");

                digitalWrite(LED, HIGH);
                client.print("LED ON");
              }
              else
              {
                Serial.println("LED OFF");
                digitalWrite(LED, LOW);
                client.print("LED OFF");
              }
            }
            client.stop();
            header = "";
          }
        }
      }
    }
  }
}